Updated: August 7th, 2022
No other space in your building gets as much attention and exposure as the inside of your elevator. Your elevator cab interior, including its decorative enclosure in which passengers are carried, says a lot about you as the property’s owner or manager. An elevator ride is usually how your visitors, customers and tenants start and finish their day. So your cab interiors are always the first and last impression of your building and your brand.
Whether you are modernizing an existing elevator or installing an entirely new one, you need to think of what kind of passenger journey you want to have with your elevator’s interior design. But before you start designing your elevator interiors, you need to know the different parts that makeup elevator cabs. Our elevator interior design experts are here to help you understand what’s in an elevator cab, from the ground up.
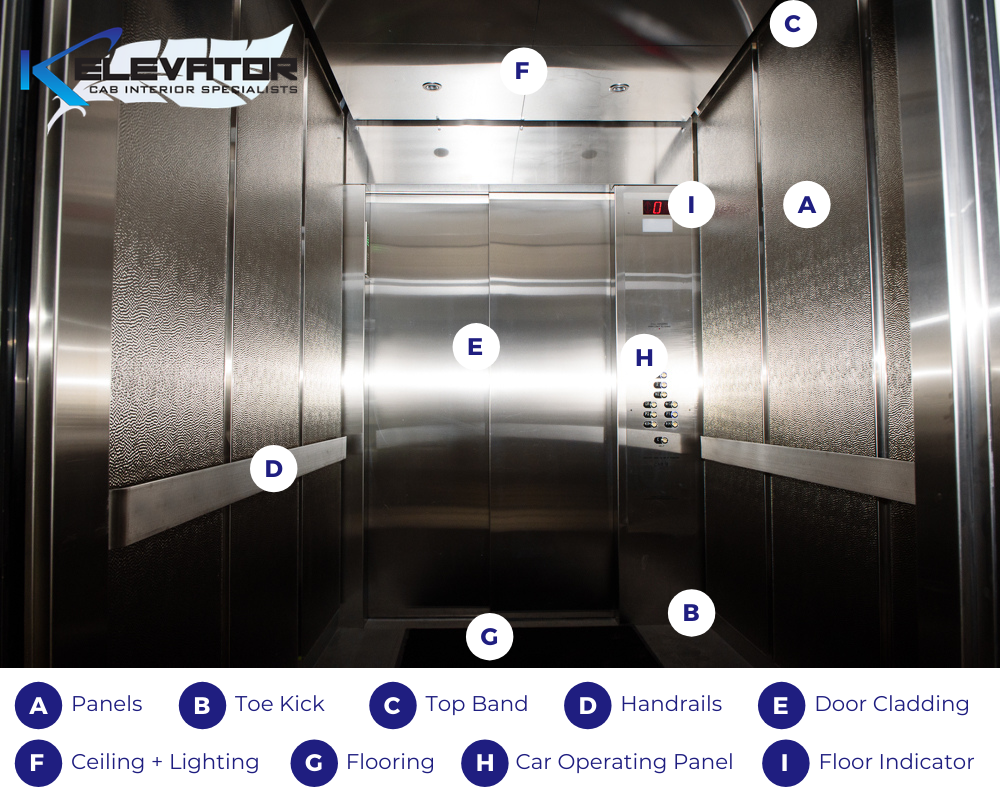
The walls of your elevator cab are made of different sections. Various materials, finishes and patterns are used to give your cab the look, function and aesthetic you desire. Elevator cab walls are the biggest defining factor in the comfort and quality of your passenger journey. The most practical and central elements used on your cab walls are panel systems.
Wall panels are the largest part of the elevator cab. They come in a variety of shapes, finishes and arrangements and are applied to your cab wall. Popular materials for panels include patterned stainless steel, mirror, or plastic laminate. Stainless steel is often used in elevator panels because it is exceptionally durable, easy to clean, and versatile. Besides, it also enhances lighting effects.
Panels are installed on top of the base, their edges are called trims, and the areas between different panels are called reveals. They might be divided into upper wall and lower wall panels, separated by a handrail in the middle.
You might also be interested in: Must-have features for great elevator interiors
At the very bottom of the cab wall might be a small metal section called the toe kick or skirting. It protects the lower sections of the wall from damage and might include cut-outs to help provide ventilation in the cab.
To match the toe kick there’s an upper metal section at the top of the cab walls called the top band (or frieze). The top band provides a clean border around your wall panels and gives your cab a clean, finished look.
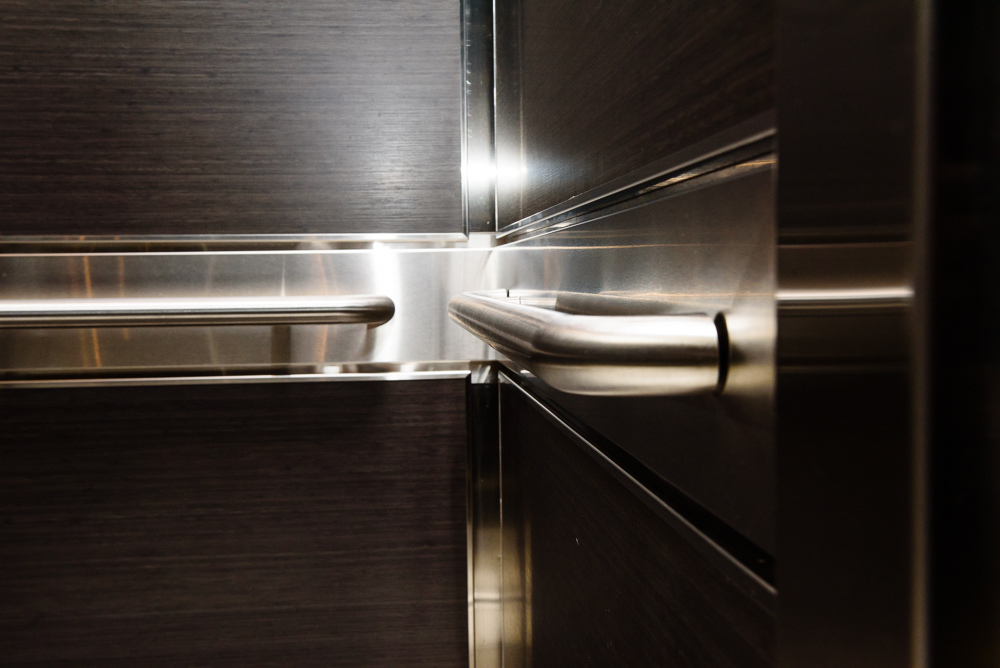
While you might think that handrails in elevators are only there to support passengers, they serve a bigger purpose. Handrails help protect your elevator cab walls from the damage of things crashing into them such as luggage, carts or backpacks. Handrails come in a returned or a straight variety. They come in an array of sizes, and can even be backlit to add an extra design feature.
Returned Handrail Ends
| Straight Handrail Ends
|
Made from durable quilted canvas, the pads are hung on the wall of your cab by pad hooks which are mounted on the top band of the cab above the panels. They serve as protection to your cab walls and front finishes to extend the life of your elevator interiors. Wall protection pads are removable and can be customized by colour or even your building name or business logo.
Since cab walls are a great place to give your passengers something to read while they are on the elevator, you might consider adding an enclosed notice board. With a stainless steel frame and a secure lock, these notice holders remove the clutter of random paper in your elevator. Elevator notice boards need to meet local and national fire standards. They come in 2 standard sizes: Single – 8.5” x 11” or Double – 11” x 17”.
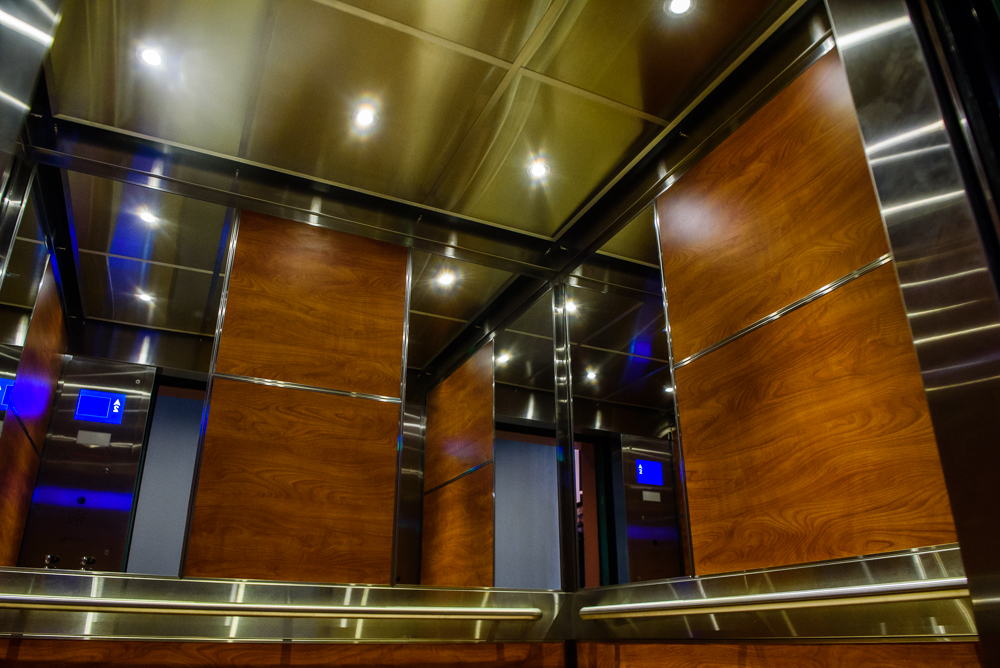
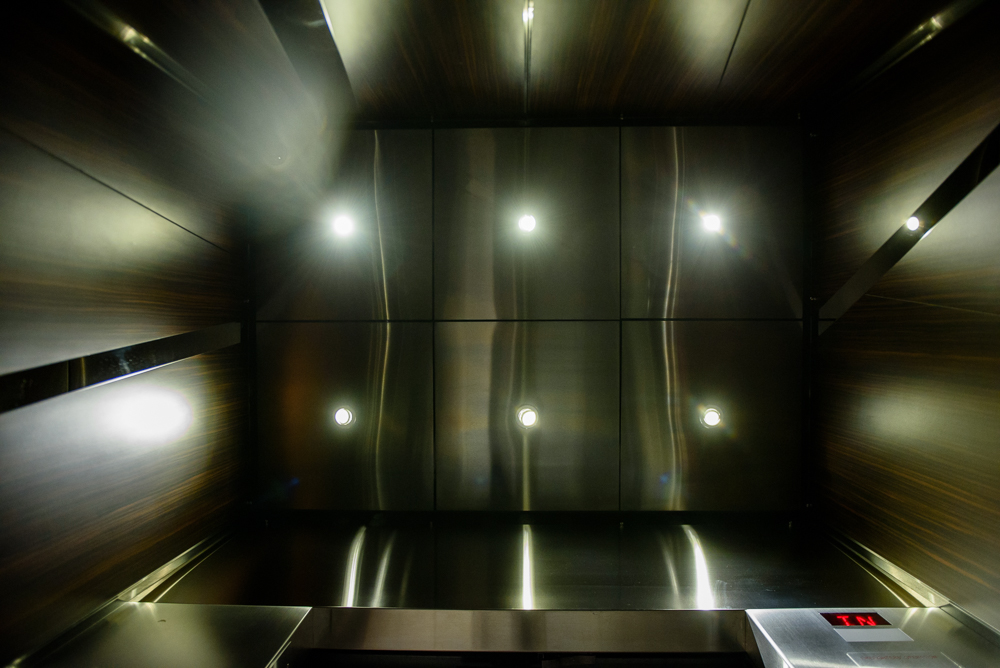
Elevators can often make riders feel anxious, but a well-lit interior and a brighter ceiling can make your passengers more comfortable. With more light, the cab looks newer and cleaner. However, the light levels in the cabs should at least be a minimum of 200 lux.
Different types of elevator ceilings and lighting:
Whatever option you select for your ceilings, it must complement the lighting and match the entire cab’s design and materials. In addition to all these different options, all lighting is LED which adds the benefit of reduced electrical costs.
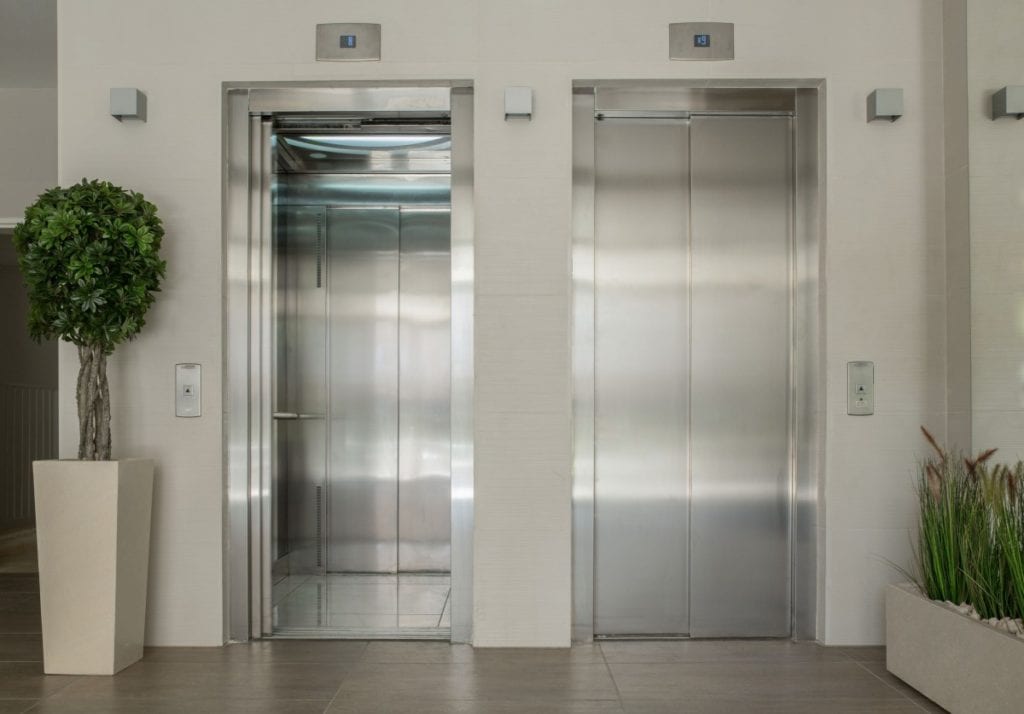
To change or enhance the look of your elevators in your lobby you might consider recladding your hall frames and doors. That means applying a new skin to your existing frames and doors, which makes it affordable and easy to change the look of your elevator entrances. Cladding comes in a variety of finishes and patterns, including coloured stainless steel and etched designs.
But cladding is not for elevator enhancement alone. There are other great reasons why you should not let door cladding go amiss.
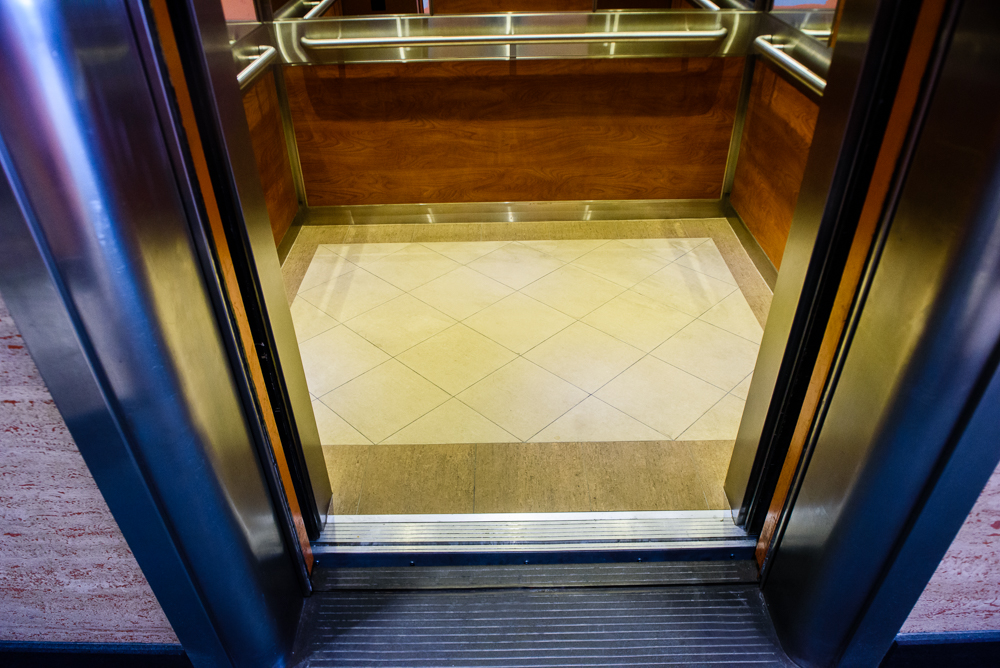
It might be forgotten cause it’s right underneath our feet, but elevator floors are key elements of your cab. It’s the level ground on which the passenger stands while they are riding the elevator. The average elevator takes five people per trip while in use, and each person using an elevator averages four trips per day.
Elevator floors can be any number of materials and layouts. You should always make sure that your flooring is sturdy enough to handle frequent elevator use by different passengers and for different purposes.
Also, it is recommended that an elevator doorway should have a clear width of at least 920 mm. The elevator floor and its perimeter should contrast each other in terms of brightness and colour for greater visibility.
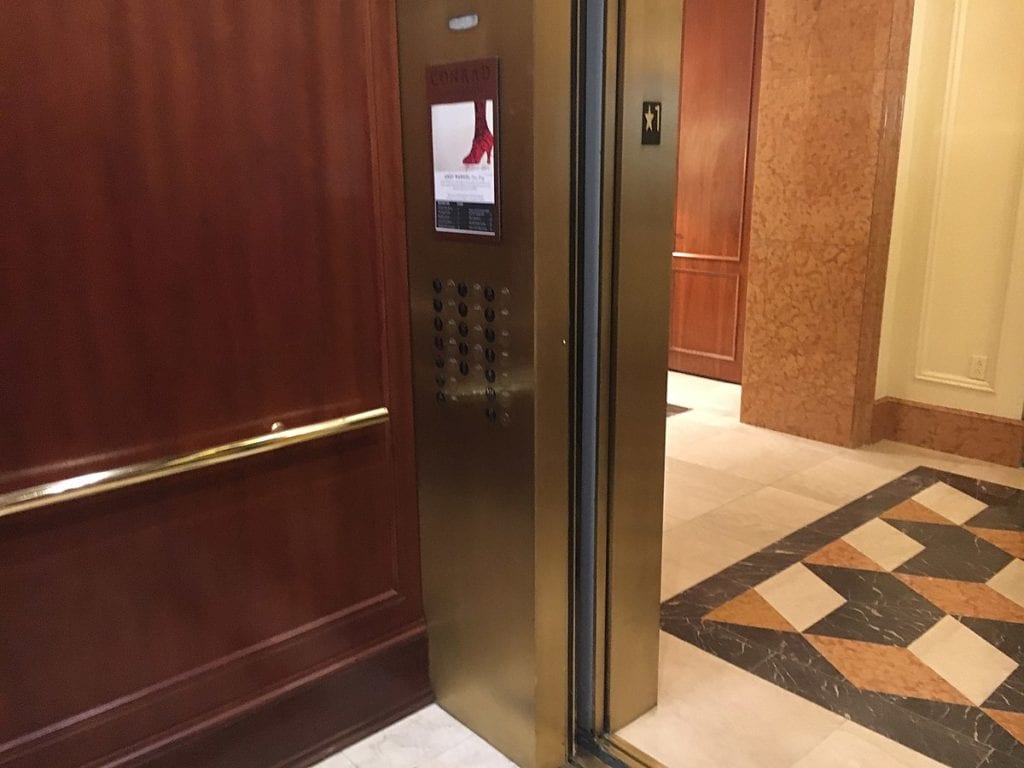
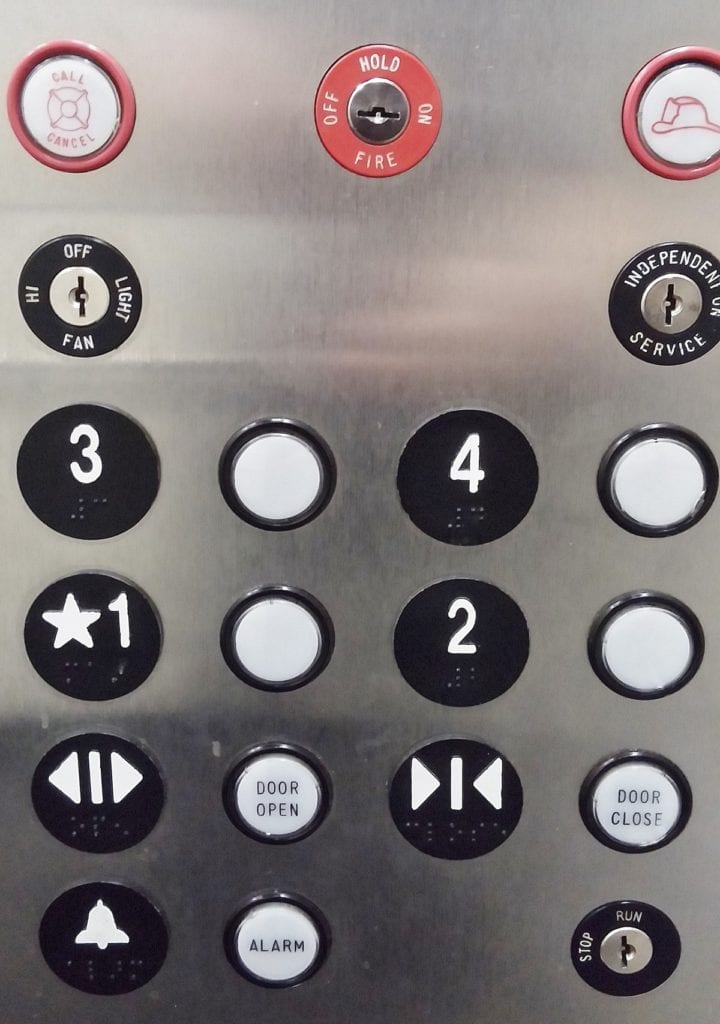
Back in the old days, an elevator operator would manually control the elevator rides to take the passengers to their desired floor. Now all you have to do is push a button. Those buttons are part of the car operating panel.
Besides floor selection buttons, which are used to decide where the elevator will stop, the car operating panel includes other operation and emergency buttons. Those extra buttons include further functions and controls such as door open, door close, emergency stop, emergency alarm, or telephone.
Elevator Cab Controls |
Floor Selection Buttons – These buttons are operated to select on what floor the rider wants to go. Ideally, these buttons illuminate when pressed. |
Operation and Emergency Buttons – These are offset below your floor selection buttons and include various options like door close, door open, emergency alarm or intercom. The lowest of these buttons is placed 35 inches above the finished floor of the elevator cab. |
Key Switch Controls – These buttons are located either above the floor selection buttons or below the operation and emergency buttons. These buttons are used by building operations personnel for maintenance purposes, fire squads, etc. |
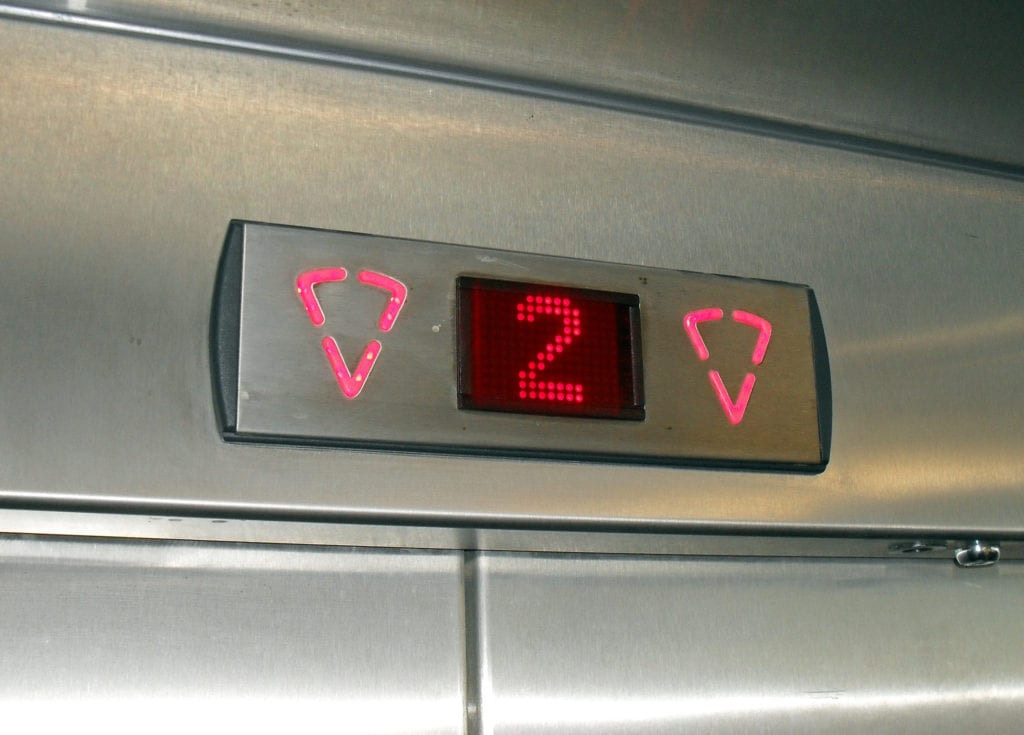
You know when you feel like your elevator ride is taking too long and you look up to see which level you’re on? That little number is called the elevator car indicator. These floor location indicators are usually placed right at the top of the elevator doors or above the car operating panel. They showcase a number that tells the passengers which floor the elevator is currently passing or stopping at.
Now that you’ve had your crash course in elevator cab interiors, it’s time to take your elevator interior design project off the ground. Our specialists at K-Elevator are here to help you elevate your passenger journey. With years of experience and hundreds of customization options, we are committed to designing custom elevator cabs that stand out. Talk to us today about your new construction of modernization projects.
The ideal experience in an elevator should be pleasant and comfortable. Passengers should feel a sense of security and serenity as they travel inside a beautifully designed cab.

Browse through our 12 Elevator Interior models and see our finishes, flooring, and accessory options.